influxDB搭建
一.单机版搭建
软件环境:
Linux: CentOS7_5_64_org
InfluxDB: influxdb-1.6.4.x86_64
1.1.下载
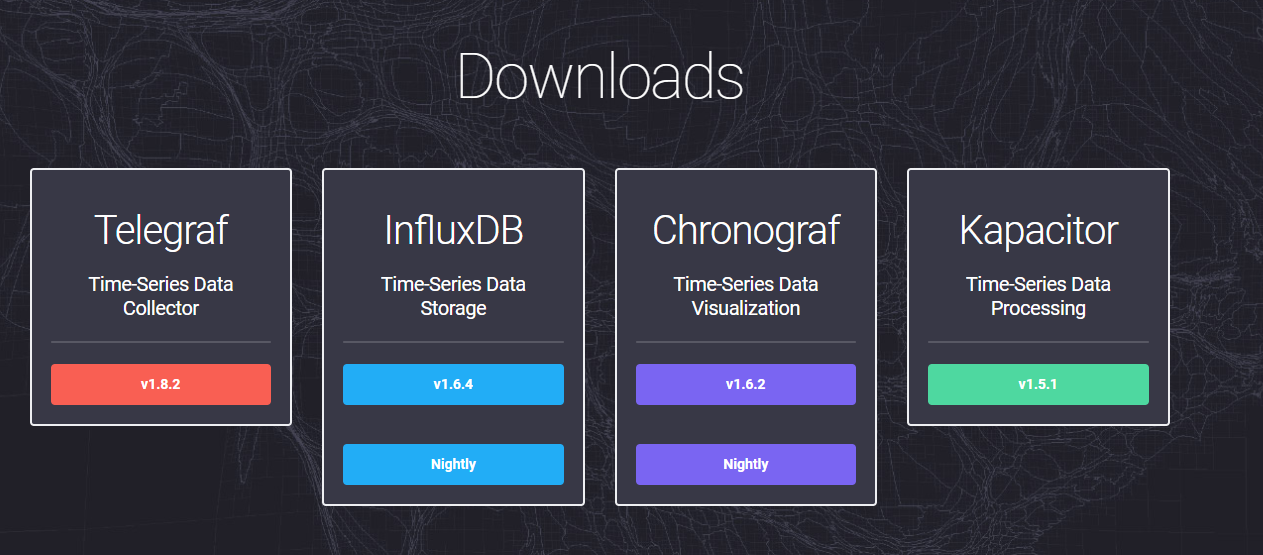
官方网址:https://portal.influxdata.com/downloads#influxdb
 点击获取下载链接,这里使用CentOS版本

1.2.安装
使用yum安装:
1
2
wget https://dl.influxdata.com/influxdb/releases/influxdb-1.6.4.x86_64.rpm
sudo yum localinstall influxdb-1.6.4.x86_64.rpm
安装后,在/usr/bin下面有如下文件:
1
2
3
4
5
influxd          #influxdb服务器
influx           #influxdb命令行客户端
influx_inspect   #查看工具
influx_stress    #压力测试工具
influx_tsm       #数据库转换工具(将数据库从b1或bz1格式转换为tsm1格式)
在 /var/lib/influxdb下面会有如下文件夹:
1
2
3
data            #存放最终存储的数据,文件以.tsm结尾
meta            #存放数据库元数据
wal             #存放预写日志文件
配置文件路径 :
1
/etc/influxdb/influxdb.conf
1.3.启动
以服务方式启动
1
sudo systemctl start influxdb
以非服务方式启动
1
influxd
需要指定配置文件的话,可以使用 –config 选项
1
influxd -config /etc/influxdb/influxdb.conf
1.4.基本操作
数据库与表的操作 可以直接在web管理页面,也可以用命令行。
1
2
3
4
5
6
7
8
9
10
11
12
13
14
15
16
#登录数据库
influx -precision rfc3339
#创建数据库
> create database "db_name";
#显示所有的数据库
> show databases;
#删除数据库
> drop database "db_name";
#使用数据库
> use db_name;
#显示该数据库中所有的表
> show measurements;
#创建表,直接在插入数据的时候指定表名
> insert test,host=127.0.0.1,monitor_name=test count=1;
#删除表
> drop measurement "measurement_name";
向数据库插入数据 命令行:
1
2
> use testDb;
> insert test,host=127.0.0.1,monitor_name=test count=1;
http接口:
1
curl -i -XPOST 'http://127.0.0.1:8086/write?db=testDb' --data-binary 'test,host=127.0.0.1,monitor_name=test count=1'
Line Protocol格式:写入数据库的Point的固定格式。在上面的两种插入数据的方法中都有这样的一部分:
1
test,host=127.0.0.1,monitor_name=test count=1
其中:
- test:表名;
- host=127.0.0.1,monitor_name=test:tag set;
- count=1:field set
从数据库查询数据 命令行:
1
> select * from test order by time desc;
http接口:
1
curl -G 'http://localhost:8086/query?pretty=true' --data-urlencode "db=testDb" --data-urlencode "q=select * from test order by time desc"
1.5.数据保存策略
influxDB是没有提供直接删除数据记录的方法,但是提供数据保存策略(Retention Policies),主要用于指定数据保留时间,超过指定时间,就删除这部分数据。
1
2
3
4
5
6
7
8
#查看当前数据库Retention Policies:
> show retention policies on "db_name"
#创建新的Retention Policies:
> create retention policy "rp_name" on "db_name" duration 3h replication 1 default
#修改Retention Policies:
> alter retention policy "rp_name" on "db_name" duration 30d default
#删除Retention Policies:
> drop retention policy "rp_name"
1.6.连续查询
当数据超过保存策略里指定的时间之后就会被删除,但是这时候可能并不想数据被完全删掉,怎么办?
influxdb提供了连续查询(Continous Queries),可以做数据统计采样。
1
2
3
4
5
6
#查看数据库的Continous Queries:
> show continuous queries
#创建新的Continous Queries:
> create continous query cq_name on db_name begin select sum(count) into new_table_name from table_name group by time(30m) end
#删除Continous Queries:
> drop continous query cp_name on db_name
1.7.用户管理
可以直接在web管理页面做操作,也可以命令行。
1
2
3
4
5
6
7
8
#显示用户
> show users
#创建用户
> create user "username" with password 'password'
#创建管理员权限用户
> create user "username" with password 'password' with all privileges
#删除用户
> drop user "username"
1.8.Web 页面
在1.5版本,Influxdb添加了Chronograf组件作为web管理端。
Chronograf下载与安装:
1
2
# wget https://dl.influxdata.com/chronograf/releases/chronograf-1.6.2.x86_64.rpm
# sudo yum localinstall chronograf-1.6.2.x86_64.rpm
启动web服务:
1
sudo systemctl start chronograf
然后通过 http://localhost:8888 连接Web页面。